How to take inspection photos that actually hold up
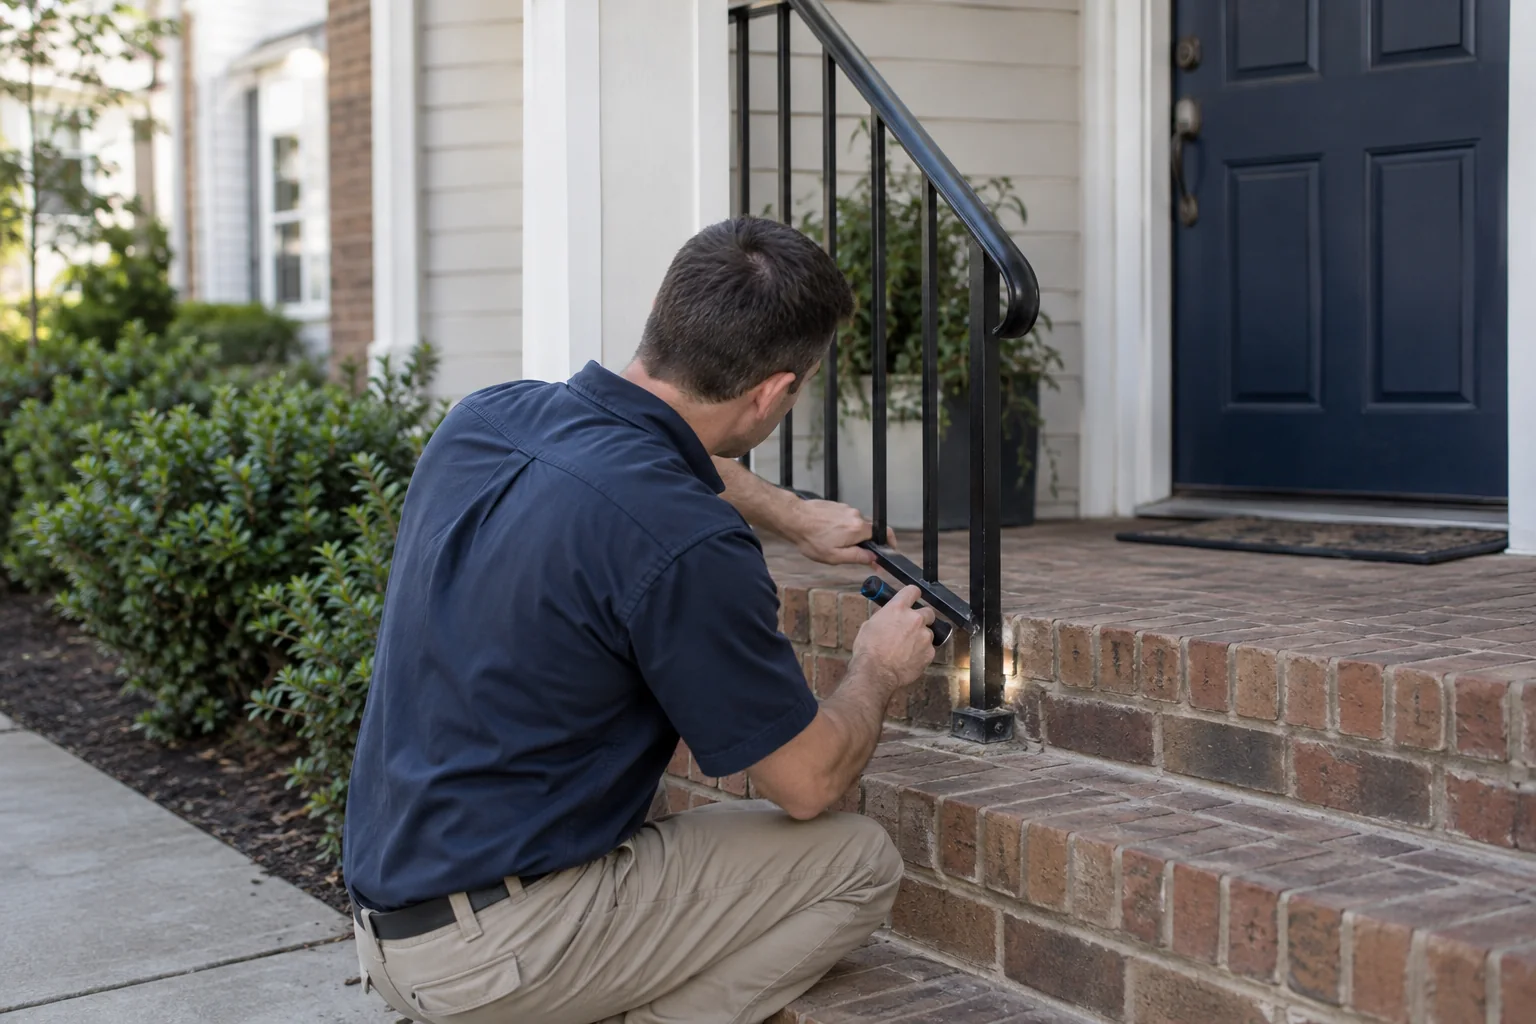
Most inspection disputes aren't about what happened — they're about whether you can prove it. Photos are the proof, and most inspection photos are worse than they need to be. Here's how to shoot photos that survive a deposit dispute, an insurance claim, or a board meeting.
The five rules
- Wide, then close. One shot that shows where in the room you are, then the detail. A close-up of a stain with no context can be from anywhere.
- Something for scale in every close-up. A hand, a tape measure, a coin. "Crack in tile" reads very differently at 2 cm and 20 cm.
- Keep the timestamp. Your phone stamps the moment; some apps and messaging tools strip it. If you text photos to yourself or the office, the metadata is often gone. Capture inside the tool that produces the report.
- Attach the photo to the item, not the inspection. "Photo 37" in a folder means nothing later. "Kitchen → Range & hood → photo" is self-explanatory.
- Annotate the point of interest. An arrow or a circle drawn on the photo removes all ambiguity about what you're flagging. It takes five seconds.
What to photograph, always
- Every Fair or Poor item — no exceptions
- Meter readings and HVAC filter dates
- Under every sink (leaks show here first)
- Inside the oven and behind the fridge if you can move it safely
- Every safety device (smoke/CO) with the test light visible
- Keys, remotes and access cards returned, laid out on a counter
What not to do
- Don't rely on video alone. Video is great for a walkthrough narrative but hard to reference ("at 4:12 you can see…"). Use short clips for things that move — a rattling fan, a running toilet — and stills for everything else.
- Don't shoot into windows at midday. Expose for the interior; step to the side of the light.
- Don't crop later. Cropping is editing, and editing invites the question of what else changed.
Storage and access
The record only helps if you can find it in six months. Store photos with the inspection, in the property's history, behind access control — not in a group chat. When you export for a dispute, export the whole set with the report so nobody can claim you cherry-picked.
Sitesui keeps every photo on its item, timestamped, with on-photo annotation, and exports the full evidence set as a ZIP with the PDF.
Want to see this in your own inspection workflow?
Send your checklist and your community or property list — the form at sitesui.com/setup, or an email to hello@sitesui.app — and we'll build your first community for you — the checklist as a template, the properties imported — free, by email, with no call to book.